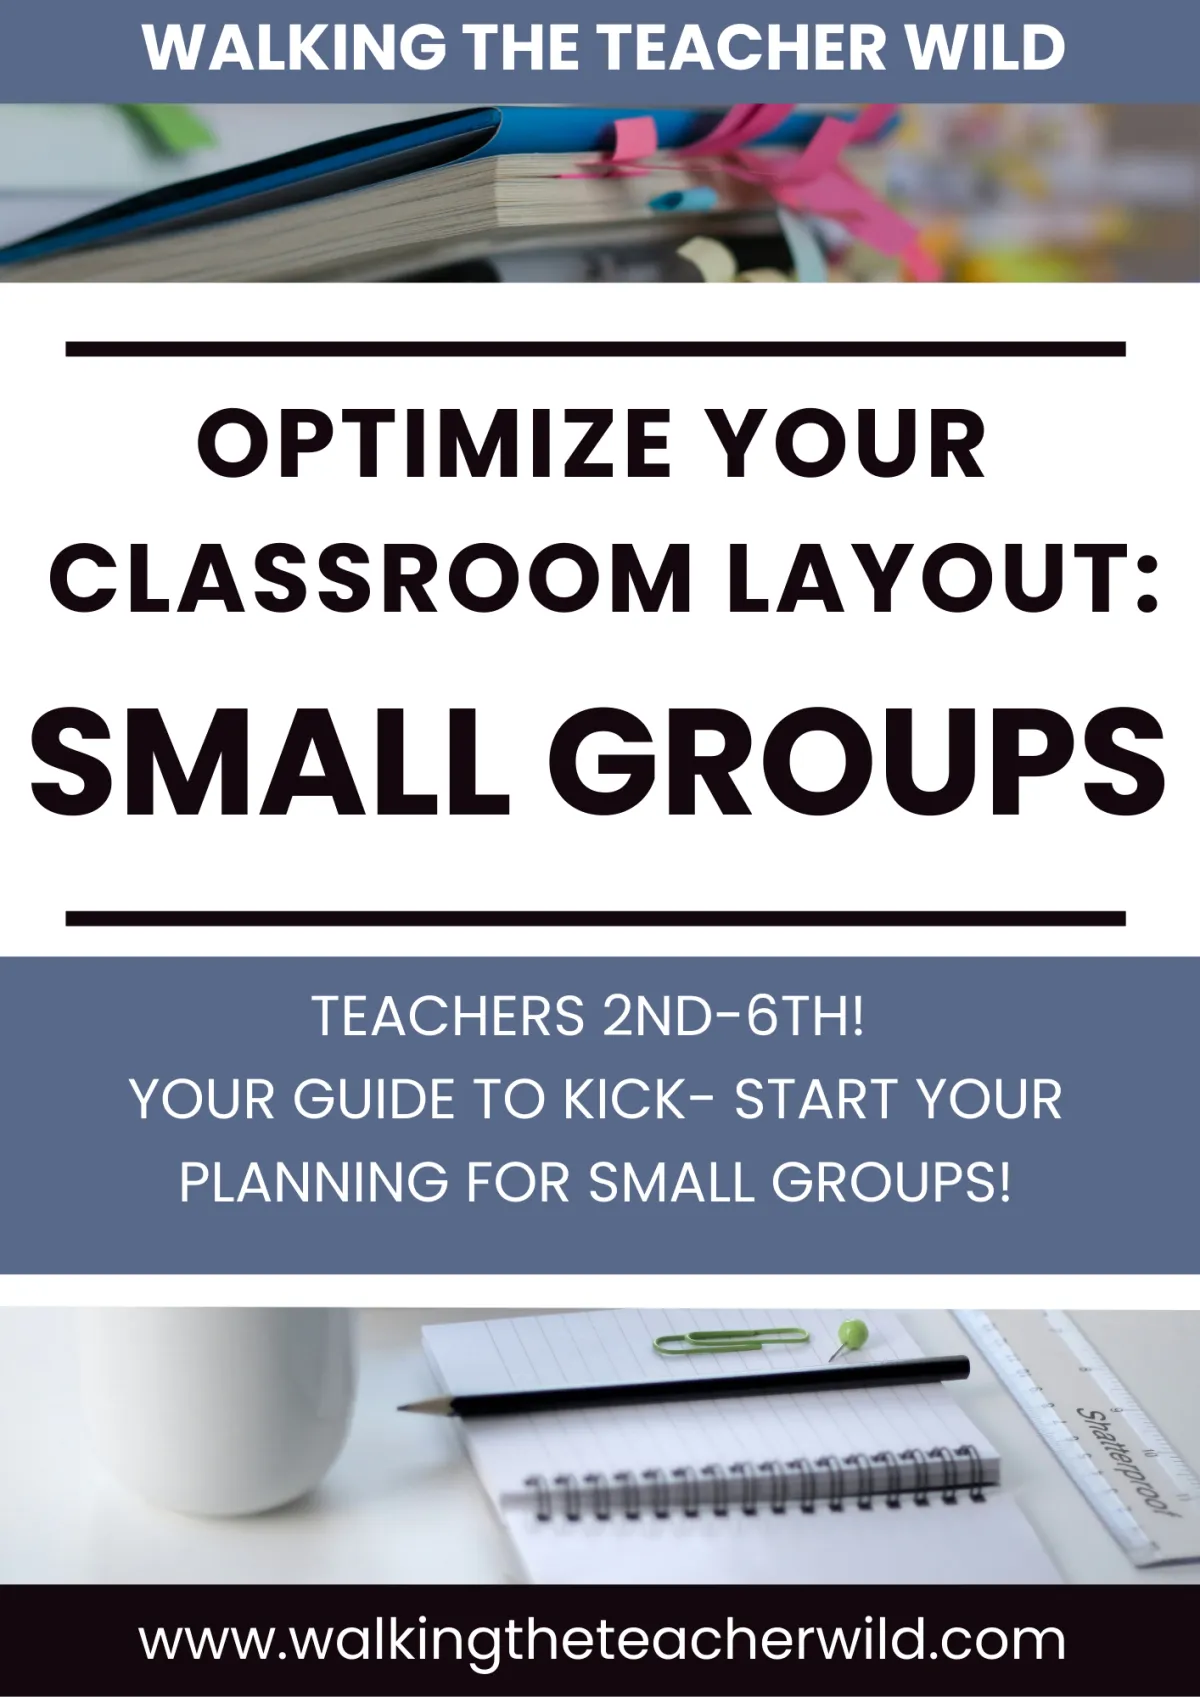
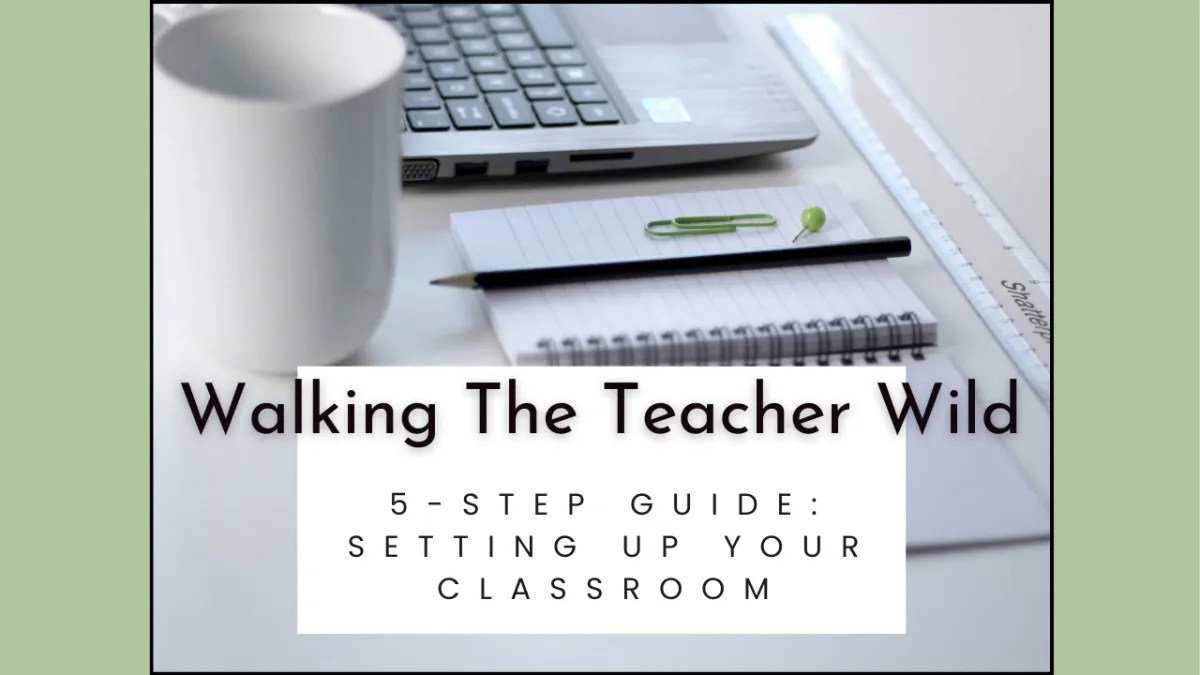
5-Step Guide To Setting Up Your Classroom
Check Out My Freebie: My Parent Information Form
And… Disaster! That was usually my thought the first day of setting up my classroom each year… until I made some changes.
I used to enter my classroom, and pull everything out. I kept muttering to myself, “Where did my June self put this?” I continued to repeat this process, until I had most everything pulled out, then I looked around the room to see a huge mess! I just added another hour or two to my workload. Great. When’s lunch?
So, I decided to make some changes. First, I sat down, and made a list of things I had to get done before parents, and students, saw the room for the first time.
The furniture had to be set up.
I needed supplies to get us through the first week of school. Sometimes we are able to get supplies from the office, but there are many times when the supplies don’t arrive until the second week of school.
I needed my copies for the first week. This included My Parent Information Form. (We usually had a Meet And Greet the Thursday Night before the first week)
Bulletin Boards
This prompted me to create my 5-Step Guide To Setting Up My Classroom.
Step #1: Fix Your Classroom Furniture First!
I know you want to pull everything out of the cabinets, open anything new you’ve already purchased, and start dreaming of this coming year. Don’t Do It! Not Yet! Or you will be like I used to be, and begin the year…behind.
Start moving your furniture first. Try not to overthink your classroom layout, you will be able to change it later. In the beginning of the year, I created rows of two, facing the front of the room.
This configuration had students facing front, which helped when we had all the discussions on rules and expectations. It also enabled students to have a partner to talk quietly with during those first week activities.
Once I had my students’ desks in order, I focused on:
Students Shelves: containing class supplies and our class library
Teacher’s Desk (If you have one)
My Teacher Kidney Table
Tables for group work
Turn-In Table
I went on a hunt and located any missing furniture that mysteriously “walked” into someone else’s room…
Now that my classroom was no longer a tripping hazard, I moved on to the next step.
Step #2: Student Classroom Supplies:
This was my ideal start with supplies:
5 different colored two-pocket folders for each subject: Reading, Math, Science, Social Studies, Technology
Two pencils for each student. I started giving out two pencils at a time, to cut down on pencil interruptions. If one pencil breaks, they have a back-up, or a seat partner will often offer to loan their pencil.
One big pink erase for each student
One spiral-bound notebook
One black and white composition book
One box of crayons for each student (crayola, of course!)
Now, if the supplies from the office were late that year, I knew I wanted at least the following for the first week of school for each student:
1 Two-Pocket Folder
Two pencils
One big, pink eraser
One spiral-bound notebook
One box of crayons
Student Name Tags
So, if we didn’t have the supply order in yet, I could ask the office for the minimal list, or I knew I could buy the above supplies to get us started.
Step #3: First Week Of School - Copies!!
Now, on to copies! First I sat down, in my nice, organized room, and planned the first week of school.
Yes, the first week. Every year I forgot how extremely exhausted I am each day that first week. You will thank yourself for preparing the week, and enabling yourself to go home on time.
Then, I wrote a list of copies that I needed for that first week, along with My Parent Information Sheet for our Meet And Greet Night, and our Writing Reference Book. Also, I always made 3-4 extra activity sheets, just in case something doesn’t go as planned that first week.
Next, I bookmarked or downloaded the activities I needed if they were on my computer, and tabbed any books that I needed to make copies.
Hint:
The copier, and your school computer, have been on vacation too. I cannot, or should not, tell you how many times I walked from my classroom to the copier, only to find out… it didn’t print. And then I would still go back to my classroom, press print, and walk up to the copier again!!
Take. Your. Computer. With. You. To. The. Printer. When. You. Are. Ready. To. Print!
Don’t forget your paperclips, hole-punch and stapler! This will save you so much time! While I waited for my copies to print, I wrote out name tags.
Take the time to stop, take a breath, and feel great that you have so much done already!! Yay!
Step #4: Your Classroom Bulletin Boards
There were so many years that we were asked at the end of year to take down our bulletin boards! It was so frustrating!
I did my best to streamline this process, so even with just the basics finished, the bulletin boards enhanced our room.
I created functional, purposeful bulletin boards that required small changes throughout the year. This way, if I wanted to add more later, and I had time, great!
Here are my bulletin board areas:
One for student work
One monthly projects
One for class expectations, and class encouragement
One for our Reading Train. This usually was posted on my cabinets, since I ran out of bulletin board or white board space. I also added our Book Recommendations in this area.
With this collection of different types of bulletin boards, I alternated the time needed to change the boards. I usually changed them every 1-4 weeks, so I would not feel overwhelmed, and behind.
Bulletin Board Rotation:
Student Work: I changed once a week
Monthly Projects: I changed once a month
Class Expectations and Encouragement: I added students’ Portfolio Piece and Compliments to the board every 1-2 weeks
Reading Train: Posted our new Train Car every 1-2 weeks
So, this is how I set up the Bulletin Boards for the first week of school. Not all of them were completely finished, and I added to them with the students starting the first week of school.
Hint:
Packing tape was my best friend in my classroom! It has a strong hold, and it doesn’t leave marks, even on a white board.
Bulletin Boards:
I stapled or taped up the background paper and the borders. I had several whiteboards instead of traditional bulletin boards, and I would just need to add borders. Hint: If you ever get the chance to switch out a traditional bulletin board to a white board I highly recommend it.
Student Board: I picked a whiteboard to use for this, but you could also use a section of wall for this bulletin board. I used packing tape to secure rows of alternating, brightly colored paper to the whiteboard. The board stayed this way until the first week of school. It still looked nice even before we added student work. Then when I added work, I taped the students’ work off-center, so it was backed by the colored paper. This highlighted the students’ work well.
Monthly Project Board: I also used a whiteboard for this board. I added a border, and a title for the board.
Class Expectations and Encouragement: I added the title and border for this board. We completed lessons and activities that I added to the board later during the first week of school.
Reading Train: This board landed on my teacher cabinets. I taped up the beginning poster for the train. We talked about this area during the first week, and how to add train cars during the first week.
To recap, I added background paper if applicable, borders, and titles to my boards during the initial classroom set-up. Then as I finished the basics, I could reassess my time.
If I had extra time, I could then spend more time on bulletin boards, cleaning cabinets, or any other new projects I had in mind for the year.
Step #5: Beginning Of The School Year Spot:
After the initial excitement of the start of a new year. I picked a spot, on one shelf, in one of my cabinets. In this location, I started to gather things throughout the year that I knew I would need next Fall.
Materials such as:
A folder for one copy of each activity I might want to use next Fall. I also packed The Parent Information Form, and a copy of the August/September Newsletter
I placed in any extra bulletin board borders.
I also put any extra supplies in this area: pencils, erasers, unused crayon boxes, folders, spiral-bound notebooks and black and white composition books.
I created a List of Ideas, and either placed it in the folder with the copies, or taped it up on the inside of the cabinet doors. I listed any new ideas that I had for the next year.
This gave me a head start this following year. I could certainly make changes, but I created a base to get me started.
Congratulations! With this 5-Step Strategy in place, you can begin tackling the start of the year with excitement, instead of having your classroom, and all its contents tackle you!
Check Out My Freebie:
My Parent Information Form